When you already have the perfect audio message uploaded to your Voice Library, launching a campaign should take minutes – not hours. In this walkthrough we’ll use the SMSGatewayCenter Voice Call Send form to deliver that clip to a list of numbers, complete with duplicate filtering, retries, and optional scheduling. Follow along screen-by-screen and you’ll be ready to hit “Send Voice” with confidence.
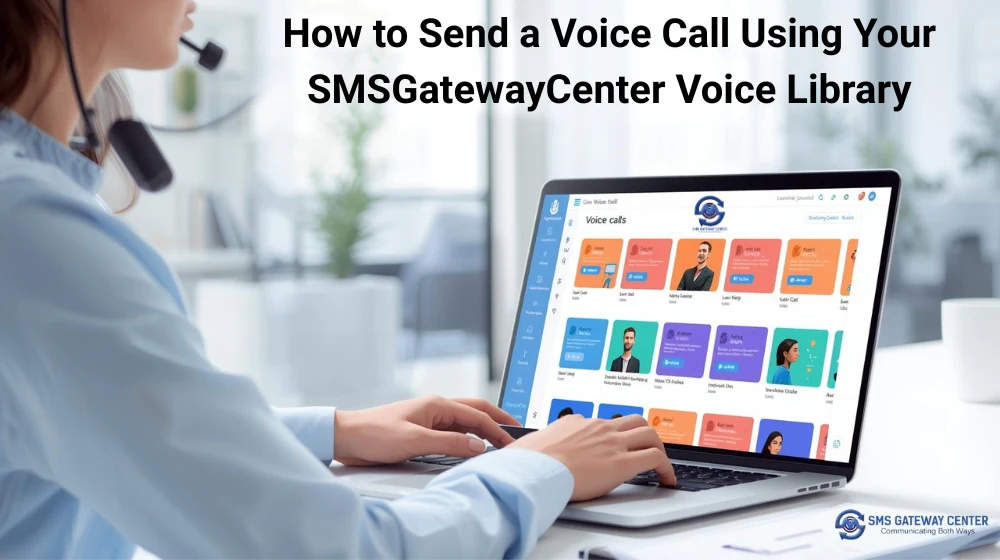
Running voice campaigns should feel as smooth as talking to your best customer. Yet, many dashboards still leave teams juggling tabs, guessing campaign statuses, and worrying about compliance. That’s why we’ve rebuilt the SMSGatewayCenter Voice Call Send workflow – from the PHP controller to the Smarty template – so you can move from idea to live campaign without friction.
1. Open the Voice Call Send Form
- Log in to your SMSGatewayCenter dashboard.
- Navigate to
Voice Call → Send Voice. - You’ll land on the Send Quick Voice page, which is optimised for pasting numbers and choosing a library clip.
Tip: If you accidentally arrive on the Group or Upload tabs, use the Send Type selector at the top-left of the form and switch back to Send Quick Voice.
2. Give the Campaign a Friendly Name
- Locate the Campaign Identifier field.
- Enter a clear label such as
FestivalOffer,RenewalReminder, orFeedbackDrive. - This identifier appears in activity logs, API responses, and helps your team filter reports later.
3. Paste the Recipient Numbers
- In the Mobile Numbers textarea, paste the list you want to call.
- You can separate numbers with commas, spaces, or line breaks; the platform normalises them automatically.
- The helper text (
mmcount) beneath the box updates as you paste, showing how many contacts you’re about to call.
Formatting best practices:
- If you paste a list with mixed separators, the platform strips unwanted characters for you.
4. Keep Duplicate Filtering Turned On
In the right-hand column you’ll see Filter Duplicate Numbers with a toggle:
- Leave it ON (green) to remove repeated mobile numbers before the call goes out.
- Turning it OFF is useful only when you deliberately want to call the same recipient multiple times (rare in most campaigns).
5. Select the Voice Clip from Your Library
Scroll down to the Send Method section:
- Make sure Select from Library is selected (it’s the default option).
- The Select from Library dropdown lists all clips uploaded to your account.
- Pick the relevant title. An audio player appears—press play to confirm it’s the correct recording.
Need to upload a new clip? Go to
Voice Call → Library, add your file, then return to this form and refresh the page.
6. Configure Redial Attempts and Interval
Right below duplicate filtering you’ll find Redial Attempts:
- Choose Retry Not Required, Retry Once, or Retry Twice.
- Each option maps to 0, 1, or 2 additional attempts if the first call fails or is unanswered.
Next, set the Redial Interval (default 15 minutes):
- Use the dropdown to pick any value from 5 to 30 minutes.
- For time-sensitive alerts, shorter intervals are better; for promotional reminders, longer gaps feel less intrusive.
7. Schedule the Campaign (Optional)
At the bottom-right, you’ll see Schedule Voice Call:
- Tick the checkbox to unlock the date-time picker.
- Select the future date and time (in your account’s timezone) when you want the campaign to start.
- Unticked means the call goes out immediately after you press Send.
Pro tip: Scheduling is perfect for campaigns that must respect DND windows or need to launch when your contact center is staffed.
8. Submit and Monitor
- Review every field once more – numbers, library clip, retries, schedule.
- Click the green Send Voice button.
- A spinner confirms the request is being sent to the Voice API.
- On success, you’ll see a confirmation banner and a transaction ID.
To track performance:
- Head to
Voice Call → Delivery Reportsto see your campaign listed with its identifier. - Drill into delivery reports for answered, failed, or retried calls.
Rapid Checklist Before You Hit Send
| Step | Field | What to Check |
|---|---|---|
| 1 | Send Type | “Send Quick Voice” selected |
| 2 | Campaign Identifier | Friendly name added |
| 3 | Mobile Numbers | Numbers cleaned, count looks right |
| 4 | Filter Duplicate Numbers | Toggle ON (recommended) |
| 5 | Select from Library | Correct clip highlighted, previewed |
| 6 | Redial Attempts | Appropriate retries chosen |
| 7 | Redial Interval | Matches your retry strategy |
| 8 | Schedule Voice Call | Optional; set when needed |
Final Thoughts
By leveraging the Bulk Voice Call Library, you skip repetitive uploads, ensure brand consistency, and launch campaigns in a fraction of the time. Whether you’re running reminders, feedback drives, or festive promotions, the SMSGatewayCenter Send Voice Call form gives you:
- A clean, guided interface that keeps only relevant options visible.
- Secure processing with duplicate filtering and retry controls.
- Audit-ready logs tied to your campaign identifier.
Log in today, pick your favourite audio clip, and let your message reach every handset – without the manual chaos. You get faster campaign launches, fewer support tickets, and audit-ready logs – all while keeping user access under control.